I go through phases. I tend to get a little side tracked or maybe boredom sets in. Some days I love to craft, other days I love to be in the kitchen. And then there are a lot of days where I sit on the couch and watch endless television shows till it is time to make dinner. Right now, I am in a bit of a crafting mood.
I saw this project on Pinterest but the link only sent me to a picture and left me instruction-less. But I was determined to make it! After some trial and error, I made a decent looking paper rosette!
These little rosettes are so versatile. I arranged mine into a heart. But you can put a few in a glass bowl or glue some on a few branches! With the holidays coming up, you can glue the rosettes to a foam wreath!

Here is what you will need to make rosettes:
*Cardstock in any color(s)
*Glue gun and glue
*Scissors
1. Cut out circles, large, medium and small. Circles don’t have to be perfect or uniform.
2. Cut a spiral pattern on the circle, leaving an oval piece at the end. Play around with how thick or thin the spiral is. The thinner it is, the fuller but shorter your rosette will be.

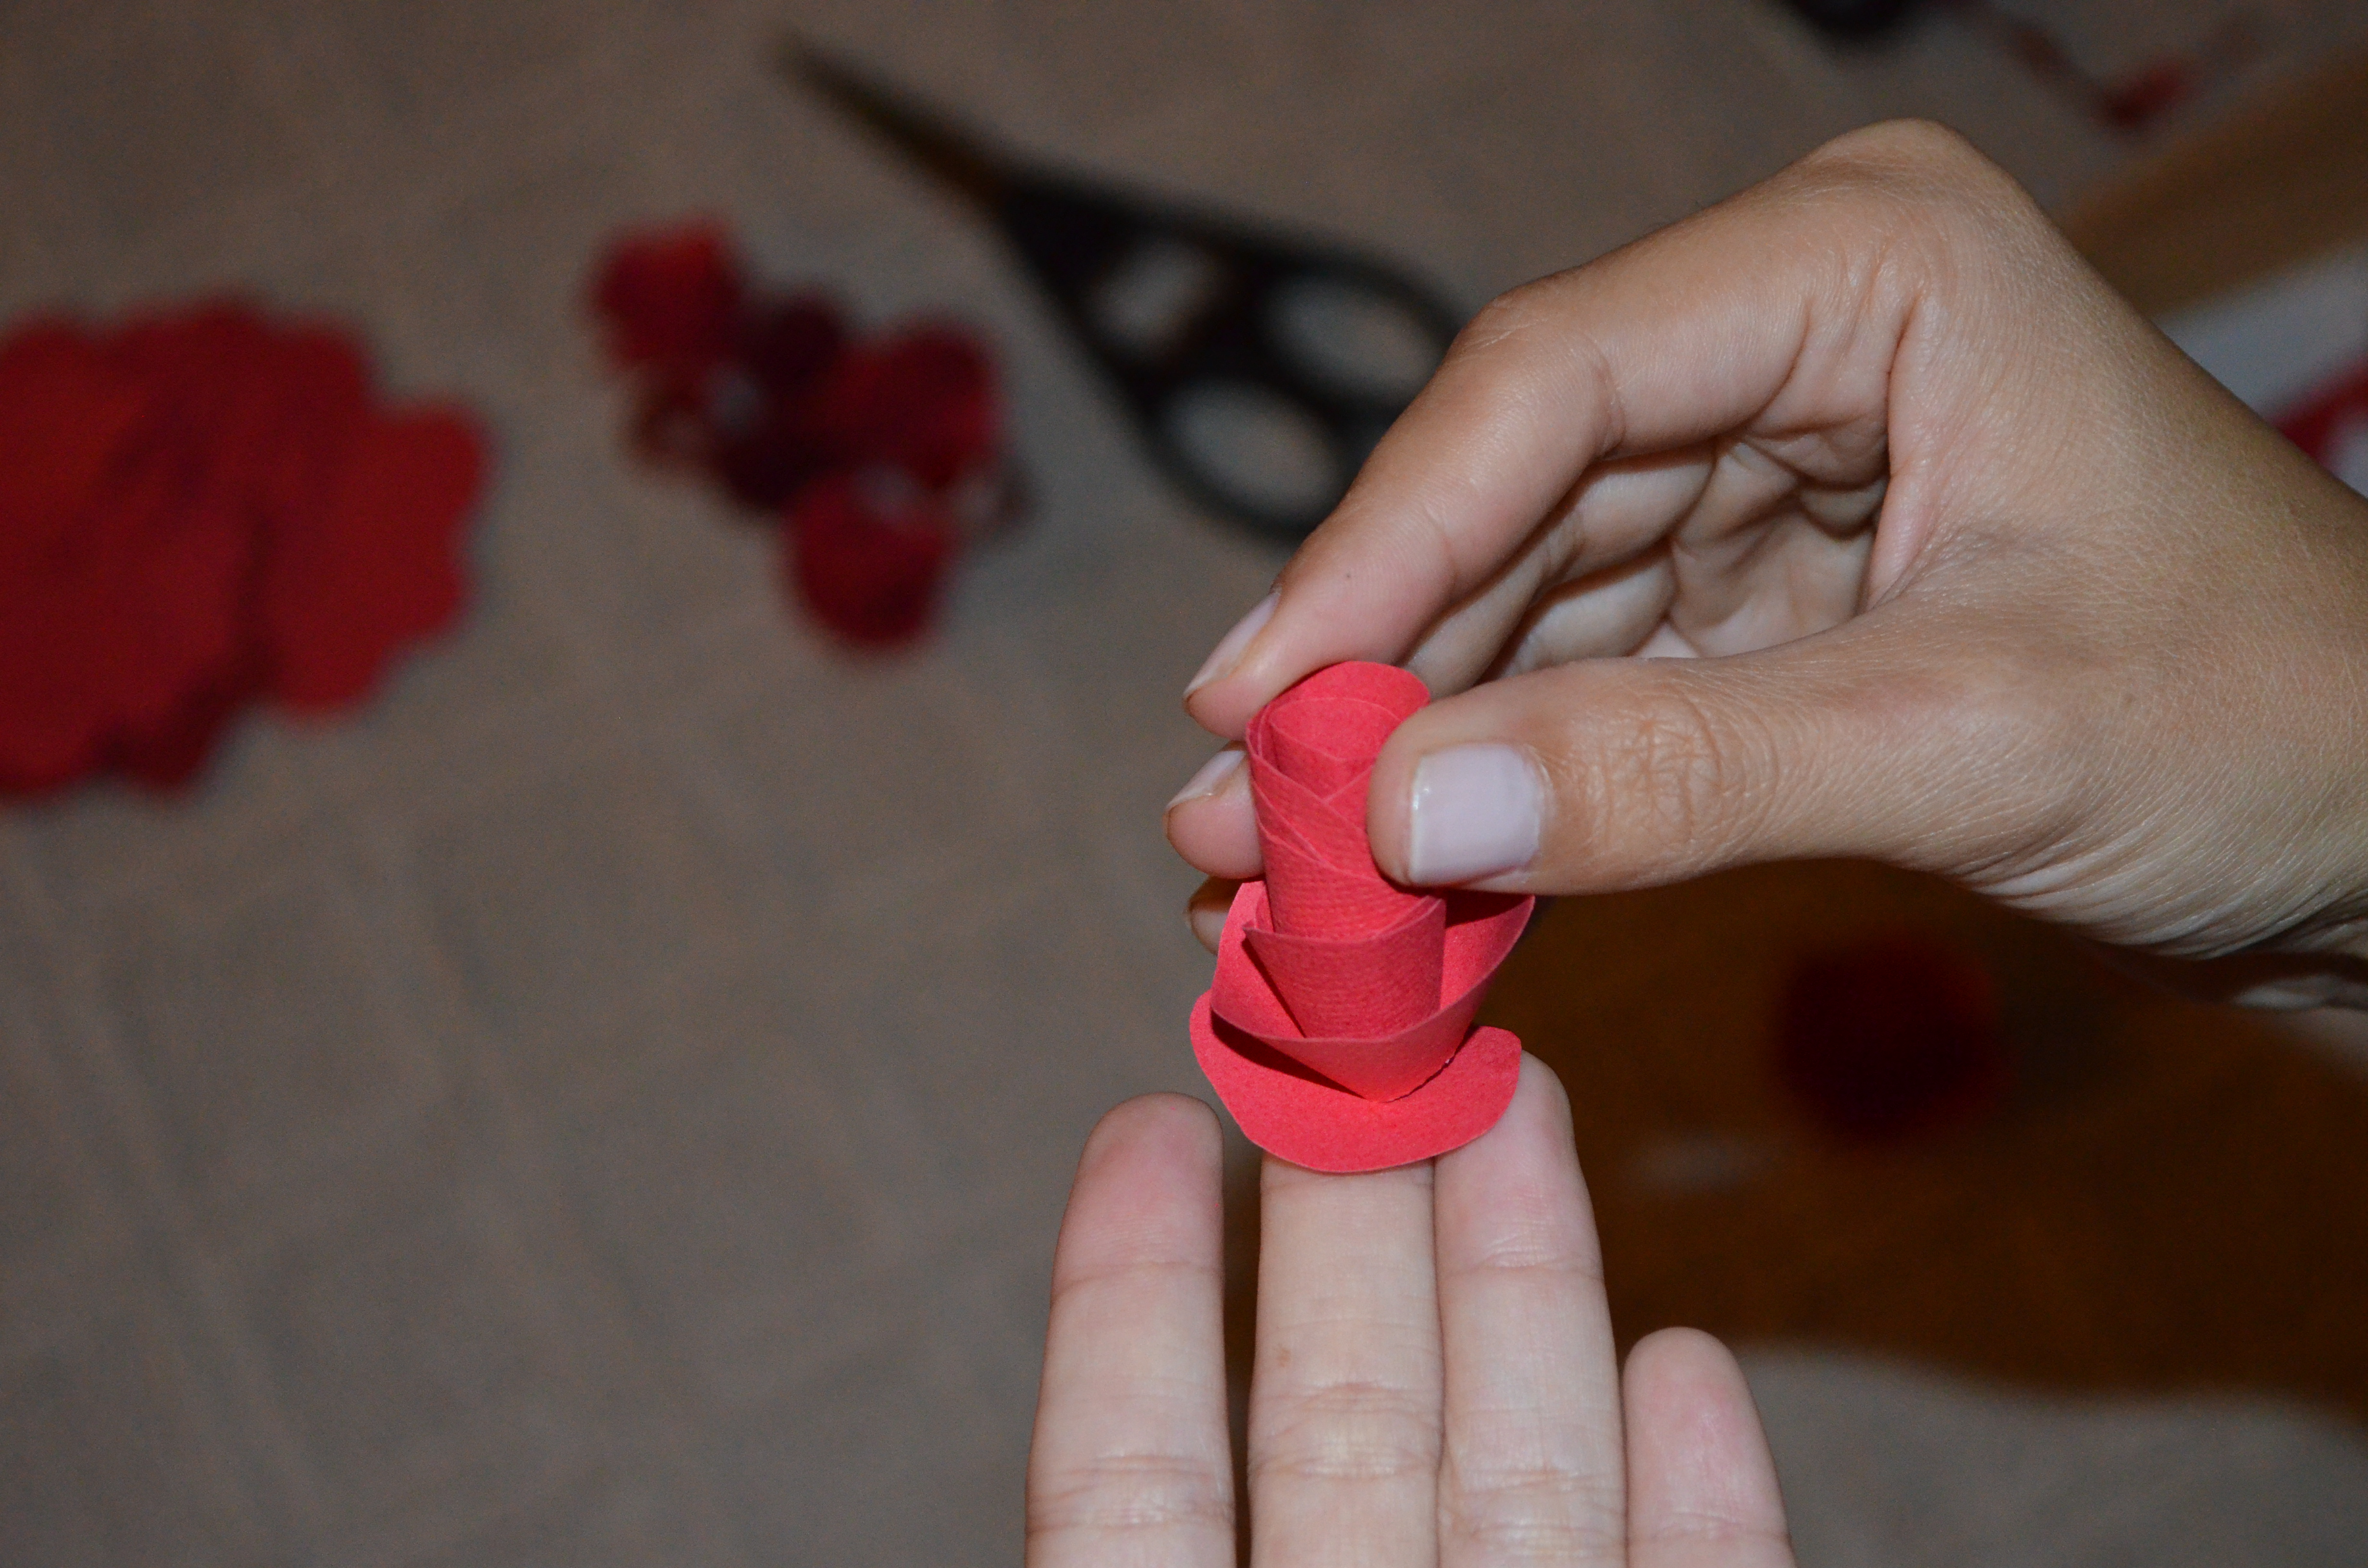
3. Hold your spiral paper so it is counter-clockwise and begin tightly curling the paper. (Curl the paper counter-clockwise so that the ‘bud’ is on top as shown in the picture.)


4. As you reach the end, place some glue on the circular end piece of the spiral. Slowly, let the ‘bud’ unravel as you press it into the glue.

5. A finished rosette!
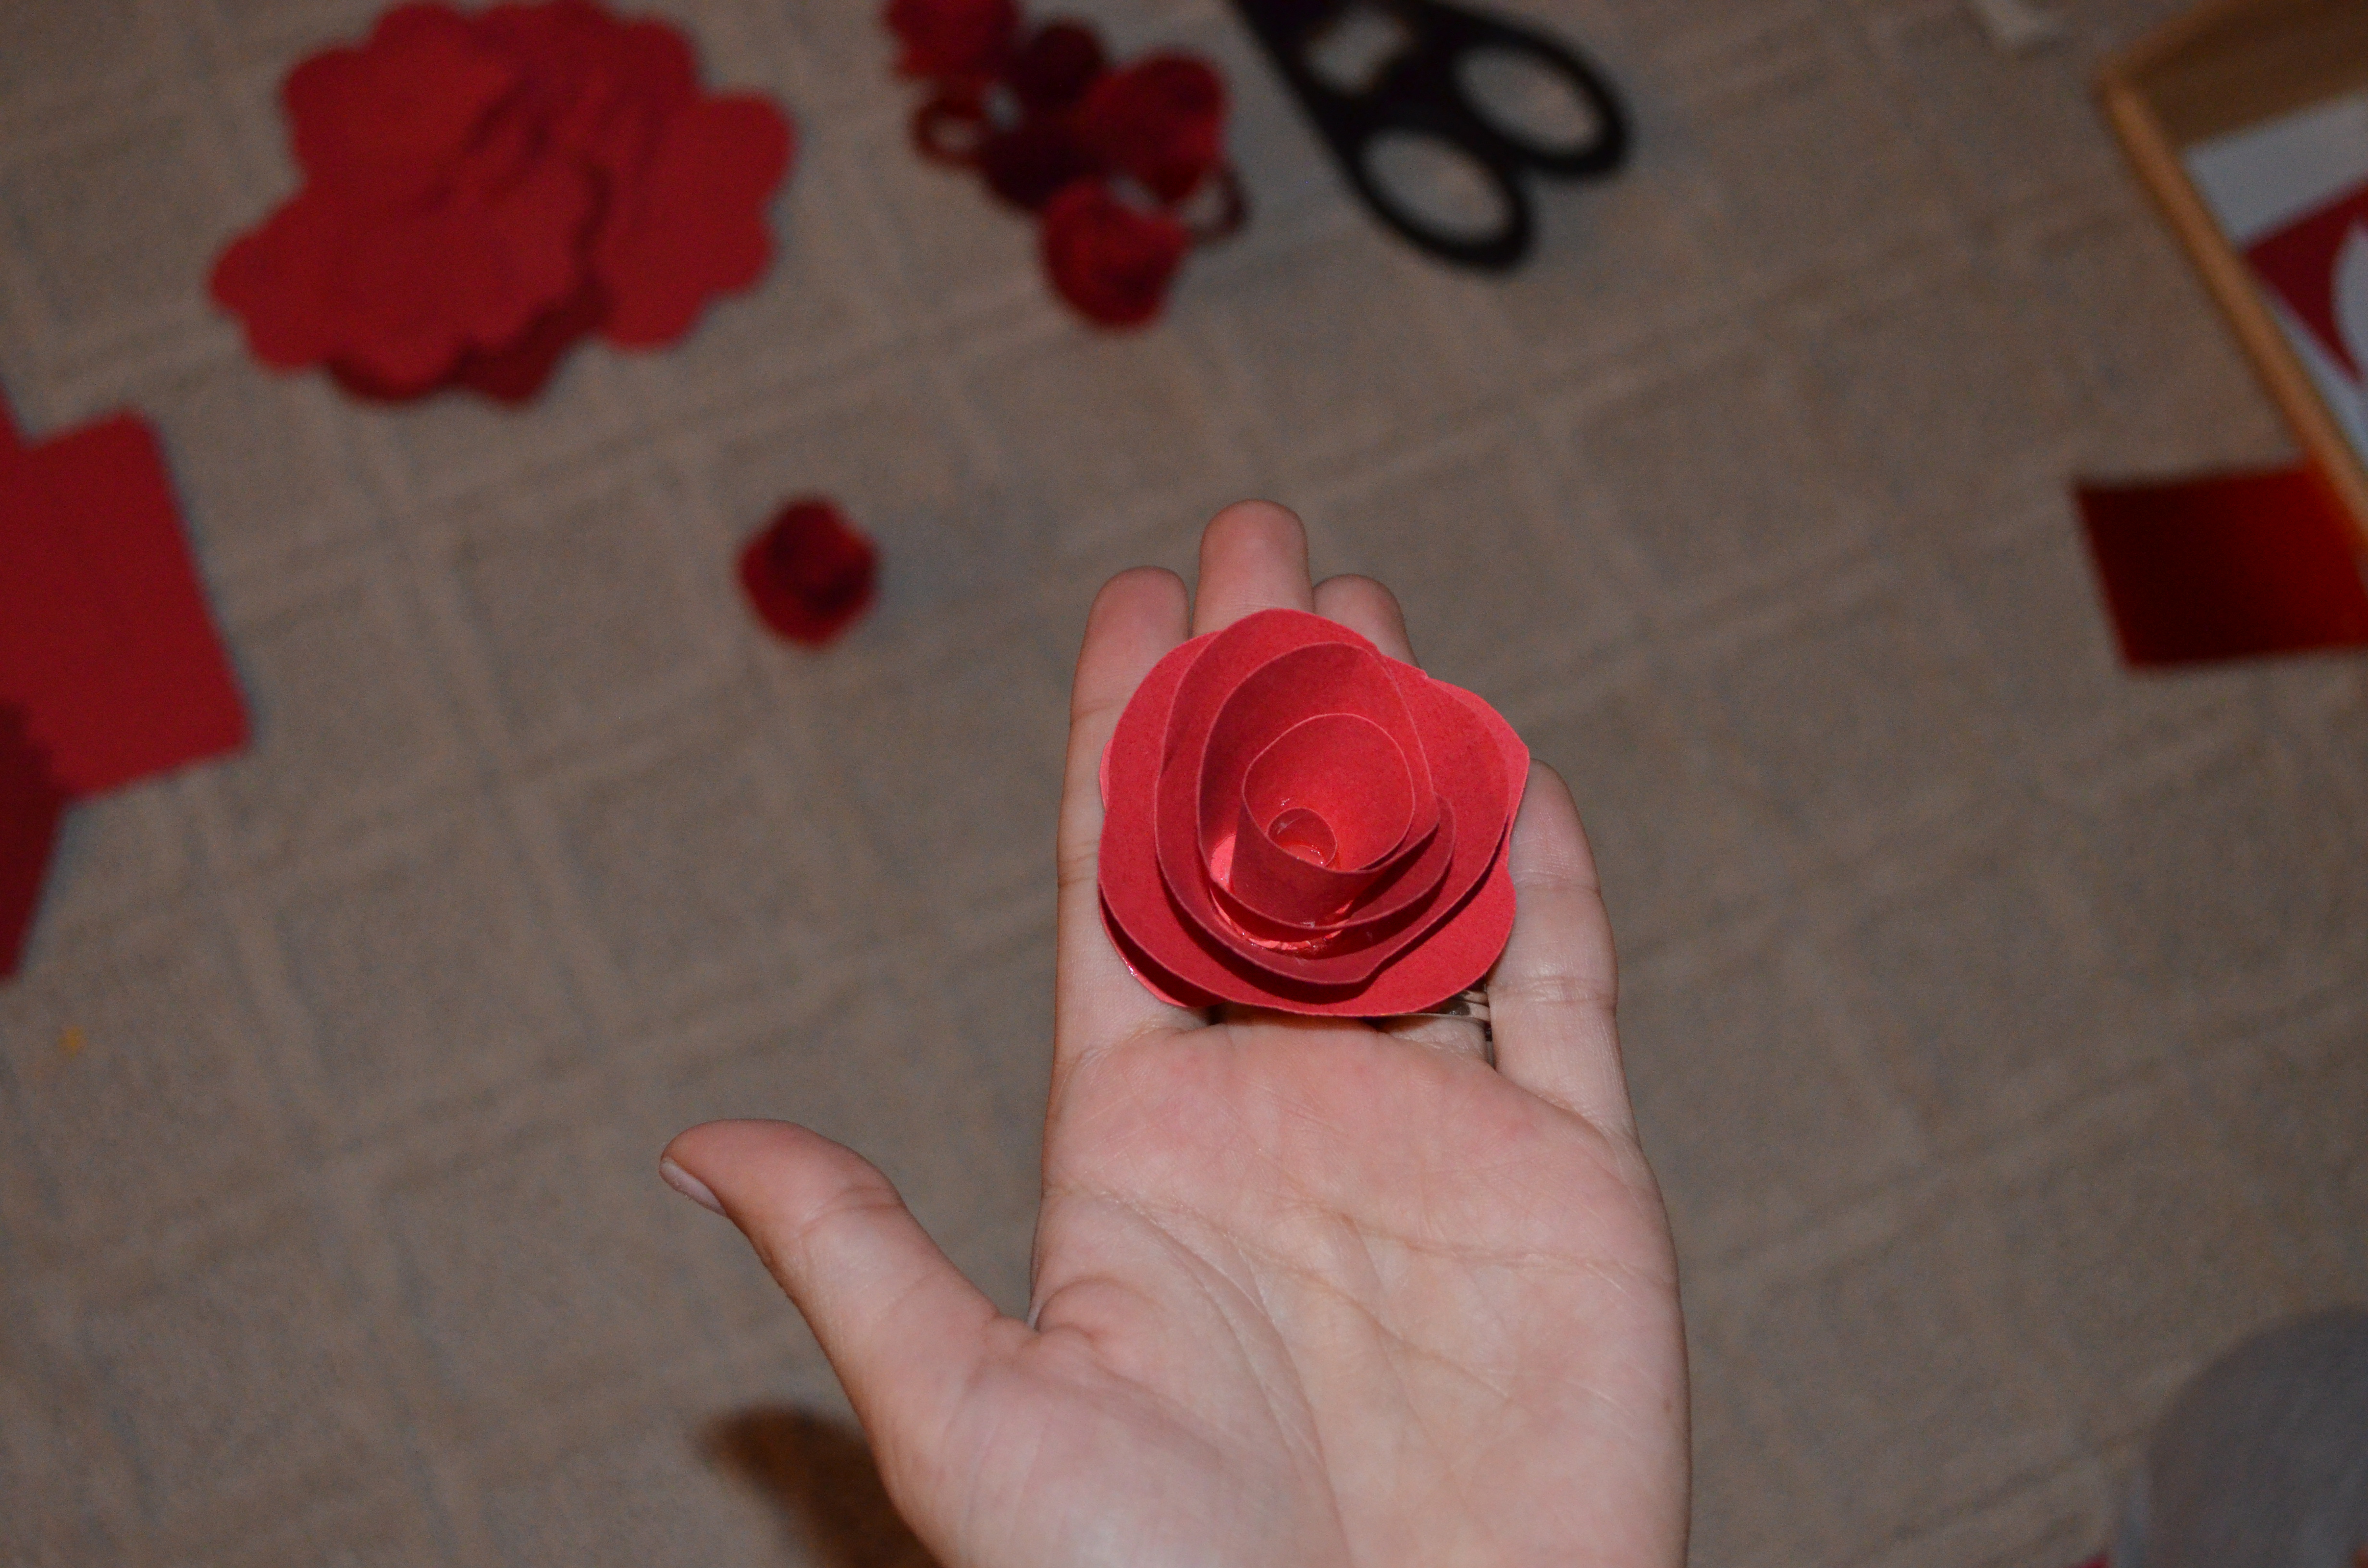
It took a few tries to make a rosette I liked. Play around with sizes and how loosely you unravel before you glue!
I glued mine onto a piece of cardboard cut out into a shape of a heart but do whatever you want with your finished rosettes!
-Diana
